This post may contain affiliate links. As an Amazon Associate, we may earn commissions from qualifying purchases.
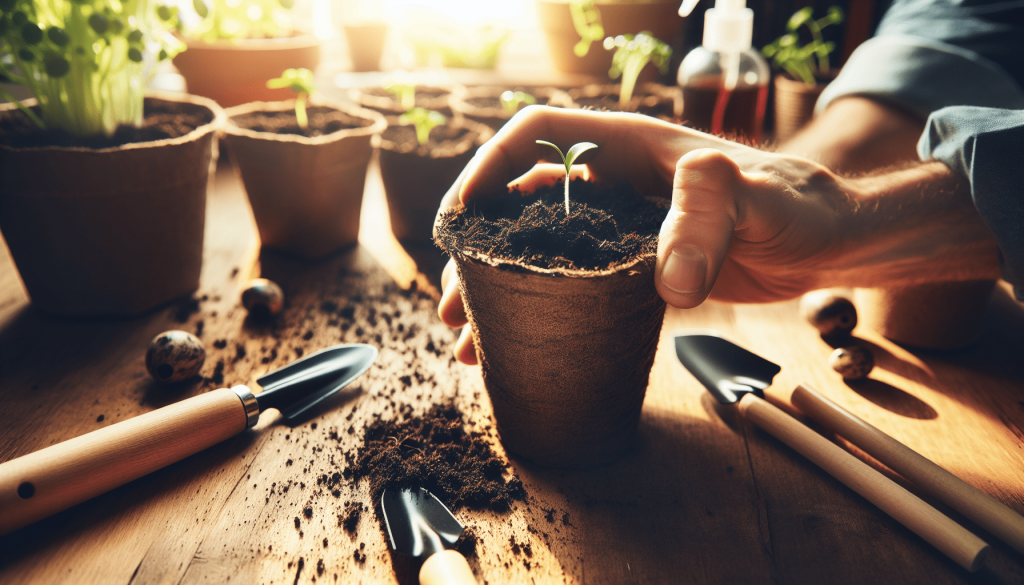
Have you ever wondered how to bring a bit of green into your home even before the climate turns warm enough to plant outdoors? Starting seeds indoors can not only kick-start your gardening season but also be immensely rewarding as you nurture tiny seeds into thriving plants. Plus, there’s something quite magical about watching life sprout right before your eyes in the comfort of your home.
Understanding The Basics of Seed Starting
Before you begin, it’s important to understand why starting seeds indoors can be beneficial for your gardening endeavors. By giving seeds a head start inside, you can ensure that your plants have a stronger start when they eventually make their way to your outdoor garden. This can lead to a more productive harvest and healthier plants overall.
Why Start Seeds Indoors?
There are several key reasons to start seeds indoors. Firstly, it allows for an extended growing season, particularly for those living in regions with shorter summers. It also gives you control over the environment, ensuring your seeds get the optimal conditions they need to germinate and grow. Plus, it’s a great way to get a jump on the growing season, giving your plants more time to mature and produce.
Know Your Seeds
Not all seeds are created equal, and some require more care than others. It’s crucial to research each type of seed you plan to start indoors. Some seeds have unique requirements for germination, such as temperature, light, and moisture levels. Knowing these specifics can make the difference between a successful start and disappointing results.
Materials You’ll Need
Like any good endeavor, starting seeds indoors requires a few essential tools. Don’t worry; you don’t need to break the bank. You probably have some of the basics around your house already.
Seed Starting Containers
The choice of container can influence the success of your seed-starting adventure. You can use a variety of containers, such as seed trays, small pots, or even recycled items like yogurt containers. Just make sure they have proper drainage to prevent waterlogging.
| Container Type | Pros | Cons |
|---|---|---|
| Seed Trays | Uniform and easy to handle | May require transplanting sooner |
| Small Pots | Allows for better root development | Takes more space |
| Recycled Containers | Cost-effective and eco-friendly | Must ensure proper drainage and sterilization |
Quality Potting Mix
Not all soil is suitable for starting seeds. It’s best to use a sterile, well-draining potting mix designed specifically for seed starting. This prevents diseases and offers the ideal structure and nutrients for young seedlings.
Labels and Markers
Once you plant your seeds, you’ll want a way to keep track of what’s what. Use labels and markers to note down the plant type and planting date. Trust us, having a labeled system will save you from a lot of guesswork later on.
Proper Lighting
Seedlings require adequate light to grow strong and healthy. If you’re starting seeds in a location with limited natural light, consider investing in grow lights. Place these lights a few inches above the seedlings to mimic the sun’s energy, ensuring they grow robustly.
Steps to Successfully Start Seeds Indoors
With your materials gathered, it’s time to roll up your sleeves. Don’t worry if it seems a tad bit intimidating at first. Take it step-by-step, and you’ll find much joy and satisfaction in watching your tiny garden grow.
Step 1: Prepare Your Supplies
Before planting, ensure that all your containers and tools are clean. Dirty containers can harbor diseases that could harm your seedlings. Wash everything with a mild bleach solution to disinfect and rinse thoroughly.
Step 2: Moisten Your Potting Mix
Pre-moisten your potting mix by adding water until it’s like a damp sponge. This will ensure even moisture distribution once the seeds are planted. Fill your containers with the moistened mix, leaving some space at the top to allow for watering.
Step 3: Sow Your Seeds
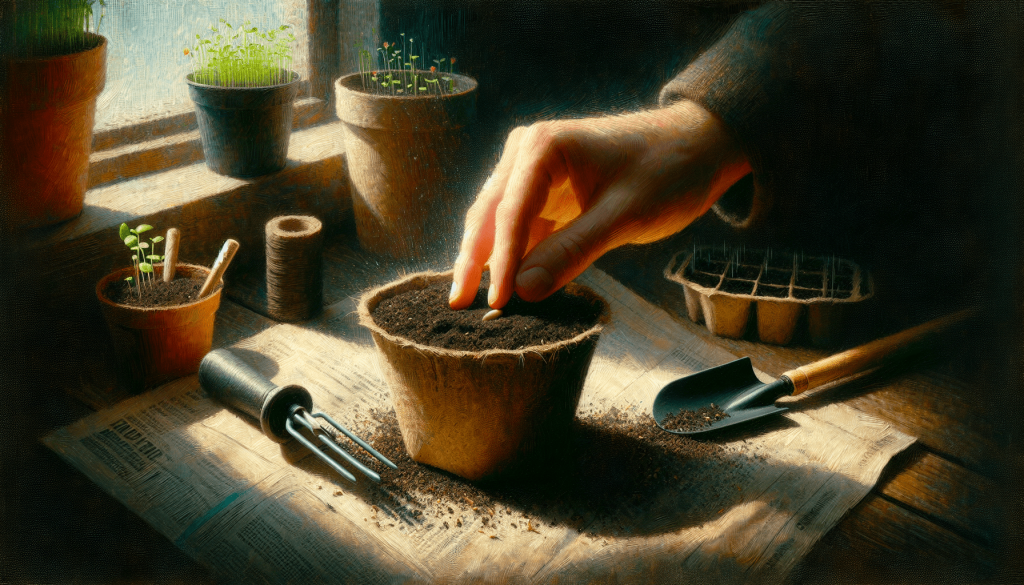
Follow the package instructions for depth. Some seeds require light for germination and should be pressed lightly onto the surface, while others may need to be buried deeper. Be gentle and precise to give each seed the best chance at germination.
Step 4: Provide Warmth and Moisture
Seeds need warmth to germinate. A heat mat can be invaluable, offering consistent warmth to encourage germination. Cover your seeded containers with a clear lid or plastic wrap to create a mini greenhouse effect, keeping moisture in and drafts out.
Step 5: Monitor and Care
Once your seeds germinate, remove the cover to prevent mold. Keep your seedlings moist but not drenched, and ensure they are receiving adequate light. Rotate them if necessary to encourage even growth and prevent them from becoming leggy.
Step 6: Thin Your Seedlings
When seedlings develop their first set of true leaves, it’s time to thin them. This means removing the weaker seedlings in each container, ensuring the healthiest ones have enough space to grow strong roots and stems.
Troubleshooting Common Seed Starting Problems
Every gardener encounters challenges now and then, even seasoned ones. Don’t worry—overcoming these is part of the learning process.
Recognizing and Preventing Damping Off
“Damping off” refers to a condition where seedlings suddenly collapse and die due to fungal infections. This can be prevented by ensuring good air circulation, using sterile equipment, and managing moisture levels carefully.
What to Do If Seedlings Are Leggy
Leggy seedlings occur when they don’t receive enough light, causing them to stretch as they search for more. Ensure your seedlings are under consistent light from grow lights positioned close above them and reduce their exposure to the dark.
Understanding Suspected Germination Issues
If you find that some seeds aren’t sprouting, don’t panic. It could be due to factors like incorrect temperature, inadequate moisture, or simply old seeds. To address this, verify the age and storage conditions of your seeds and adjust environmental factors as needed.
Transplanting Your Seedlings
Once your seedlings are strong and vigorous, it will be time to move them from the cozy indoor environment to their final home.
Hardening Off Process
Before relocating them outdoors, harden off seedlings by gradually exposing them to outdoor conditions. Start with a few hours a day in a sheltered area, increasing their exposure over a period of one to two weeks. This transition helps them acclimate and reduces transplant shock.
Choosing the Right Moment
The right time to transplant will depend on the last frost date in your region and the specific needs of your plants. Ensure the soil is warm enough and nighttime temperatures are stable to prevent damage to your young plants.
Planting Out
Gently loosen the seedling’s roots and place them in their new location. Water them immediately after transplanting to help settle the soil and provide critical moisture.
Keep Track of Your Success
As you go along, keeping a journal or logbook of your seed starting and transplanting processes can be immensely useful. Note down dates, methods, successes, and failures. This record will help you understand what works best in your unique environment and refine your techniques in the future.
Enjoy the Fruits (and Veggies) of Your Labor
There’s immense satisfaction to be had from nurturing your plants from seeds and seeing them flourish. The best practices outlined here are designed to set you on the path to healthy and productive plants, transitioning your indoor gardening endeavors to a successful outdoor harvest.
And remember, gardening—like life—is often about learning and adapting. Every season presents new challenges and opportunities to grow alongside your plants. Here’s to your successful indoor seed starting venture!
