This post may contain affiliate links. As an Amazon Associate, we may earn commissions from qualifying purchases.
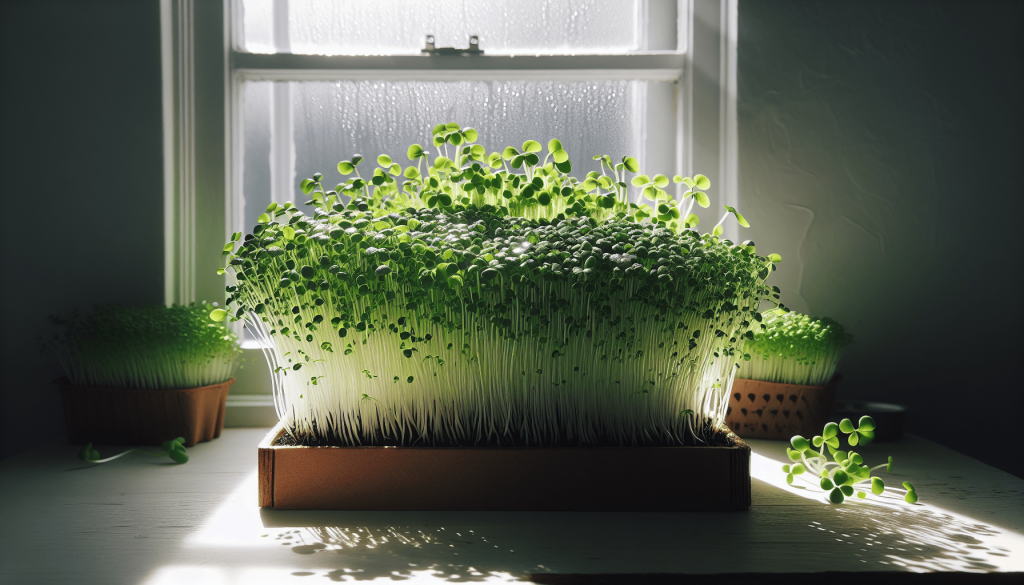
Growing microgreens at home can be an incredibly rewarding and surprisingly simple venture. By learning just a few best practices, you can ensure you consistently produce vibrant and nutritious mini-greens right in your own kitchen. From selecting the right seeds and soil to providing optimal lighting and water, you’ll discover that a little attention to detail goes a long way. This article will walk you through the essential steps you need to take to turn your windowsill into a thriving microgreen garden.
What Are The Best Practices For Growing Microgreens At Home?
Have you ever wondered how to grow those delightful, nutrient-packed microgreens right in the comfort of your home? You’re certainly not alone! Microgreens are a fantastic addition to any kitchen garden. They’re not only tasty but also packed with vitamins, minerals, and antioxidants. Whether you’re a seasoned gardener or a complete newbie, growing microgreens at home can be a fun and rewarding experience.
In this article, we will explore the best practices for growing microgreens at home. We’ll break down everything you need to know, from the basic supplies to maintaining your mini garden. Ready to get started? Let’s dive in!
Why Grow Microgreens?
Nutritional Benefits
Microgreens pack a nutritional punch. They contain significantly higher levels of vitamins, minerals, and antioxidants compared to their mature counterparts. For instance, red cabbage microgreens have 40 times the vitamin E and six times the vitamin C compared to mature red cabbage.
Easy and Quick to Grow
Microgreens are among the easiest and quickest plants to grow. Most varieties are ready for harvest in just 7-14 days! This rapid growth cycle makes them ideal for beginners or anyone short on time.
Space Efficiency
You don’t need a massive garden or a backyard to grow microgreens. A sunny windowsill or a small indoor space can suffice, making it ideal for urban dwellers and apartment owners.
What You Need to Get Started
Basic Supplies
Before you sow your first seeds, ensure you have the following supplies:
| Item | Description |
|---|---|
| Seeds | Opt for organic, non-GMO seeds specifically labeled for microgreens. |
| Growing Medium | You can use soil, coconut coir, or even hydroponic mats. |
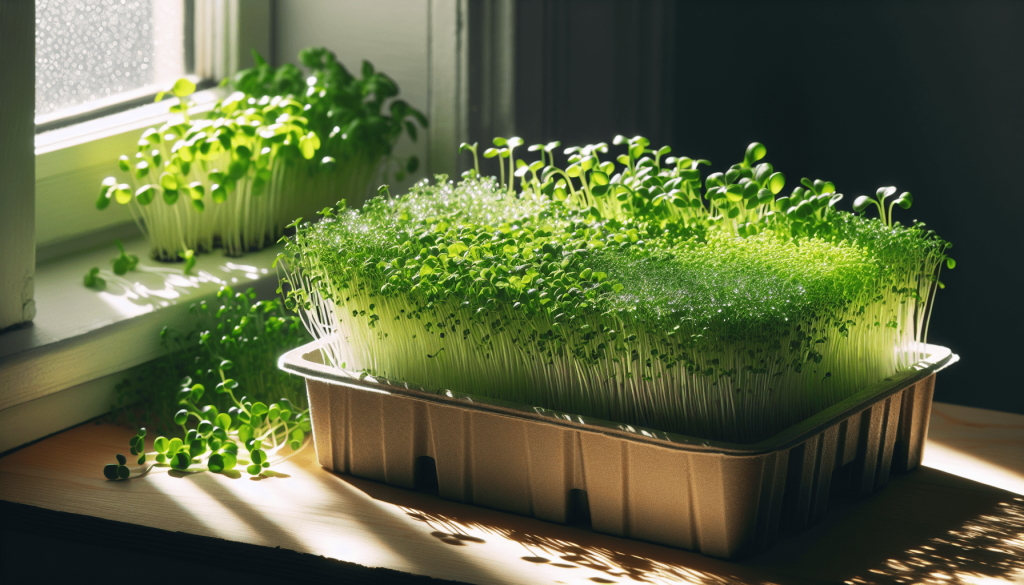
| Containers | Shallow trays or pots with drainage holes work best. Look for trays at least 1-2 inches deep. |
| Light Source | Natural sunlight is ideal, but you can also use grow lights if natural light is insufficient. |
| Watering Can | A small watering can or a spray bottle to gently mist your microgreens. |
| Scissors | A clean pair of scissors for harvesting your microgreens. |
Choosing the Right Seeds
Selecting the right seeds is crucial for successful microgreen growth. Here are some popular options you might consider:
| Type of Green | Characteristics |
|---|---|
| Radish | Spicy and crunchy |
| Broccoli | Mild and nutrient-dense |
| Basil | Fragrant and perfect for garnishes |
| Kale | Slightly bitter and very nutritious |
| Peas | Sweet and tender |
| Sunflower | Nutty flavor and crunchy texture |
| Mustard | Pungent and peppery |
Choose a variety of seeds to keep your palate excited and to benefit from a range of nutrients.

Preparing Your Growing Medium
Soil
If you choose soil as your growing medium, go for a well-draining potting mix. Fill your trays with about 1-2 inches of soil and lightly firm it down. Ensure the soil is moist but not waterlogged.
Coconut Coir
Coconut coir is an excellent alternative to soil. It retains moisture well and is highly sustainable. Soak the coir in water until it expands and becomes fluffy, then fill your trays as you would with soil.
Hydroponic Mats
Hydroponic mats are great if you prefer a soilless option. These mats are made from natural fibers and can hold water while offering a solid base for roots. Simply cut the mat to fit your tray and soak it before adding the seeds.
Sowing Your Seeds
Spacing
Spread your seeds evenly across the surface of your growing medium. You don’t need to worry about traditional spacing rules; microgreens can be sown relatively densely. However, avoid clumping the seeds together, as it might lead to poor air circulation and mold.
Covering the Seeds
After spreading the seeds, lightly press them into the growing medium using your hand. Some people like to cover the seeds with a thin layer of soil or coir to keep them moist, but it’s not strictly necessary. If you choose to cover them, ensure the layer is extremely thin.
Initial Watering
Use a spray bottle to mist the seeds thoroughly. The growing medium should be moist but not soaked. Watering from above can displace the seeds, so spray gently.

Providing Light and Water
Light
Microgreens need plenty of light to grow but avoid direct sunlight which can be too harsh and dry out the growing medium. Place your trays where they can get indirect sunlight or use grow lights to maintain consistent light levels. Most microgreens require about 12-16 hours of light daily.
Watering
Keep the growing medium consistently moist. In the first few days, mist the seeds 1-2 times per day. As the microgreens sprout, you might need to water them more frequently. It’s crucial to avoid overwatering as it can lead to mold and rot.
Maintaining Optimal Growing Conditions
Temperature
Microgreens thrive in temperatures between 60°F and 75°F (15°C to 24°C). Extreme temperatures can slow their growth or cause them to bolt. Keep an eye on room temperature, especially if you’re growing them indoors.
Air Circulation
Good air circulation helps prevent mold and promotes healthy growth. You can achieve this by keeping a small fan nearby or ensuring the area is well-ventilated. Avoid placing trays too close to each other to allow air to flow freely.
Harvesting Your Microgreens
When to Harvest
Most microgreens are ready to harvest when they are 1-3 inches tall and have developed their first set of true leaves. This usually occurs 7-14 days after planting, depending on the variety.
How to Harvest
Use a pair of clean, sharp scissors to cut the microgreens just above the soil line. Harvest them all at once or snip off what you need, allowing the remaining plants to continue growing.
Storing and Using Microgreens
Storing
Microgreens are best used fresh but can be stored in the refrigerator for a few days. Place them in a sealed container lined with a damp paper towel to retain moisture.
Using
Microgreens can be a versatile ingredient in many dishes. Add them to salads, sandwiches, smoothies, soups, and more. Their vibrant colors and unique flavors can enhance any meal.
Troubleshooting Common Issues
Mold
Mold can be a common issue when growing microgreens. Ensure proper air circulation, avoid overwatering, and use clean equipment to minimize the risk. If you notice mold, remove the affected areas immediately.
Poor Germination
If your seeds aren’t sprouting well, it could be due to factors like poor-quality seeds, inadequate light, or improper moisture levels. Check these conditions and adjust accordingly.
Leggy Growth
Leggy growth usually indicates insufficient light. Move your trays closer to the light source or increase the light intensity to promote sturdy, compact growth.
Advanced Tips for Growing Microgreens
Using Grow Lights
If you’re serious about growing microgreens year-round, investing in good quality grow lights can be a game-changer. Look for full-spectrum LED lights, as they closely mimic natural sunlight and use less energy.
Rotating Crops
To keep a constant supply of microgreens, consider rotating your crops. Plant a new batch every few days to ensure you always have fresh microgreens on hand.
Experimenting with Flavors
Don’t be afraid to experiment with different seed varieties and flavor combinations. Mix spicy radishes with mild lettuce or sweet basil with tangy mustard for a unique culinary experience.
Final Thoughts
Growing microgreens at home is a fantastic way to enhance your diet with fresh, flavorful, and nutrient-packed greens. It’s an accessible hobby that doesn’t require much space, time, or expertise. By following the best practices outlined in this guide, you’ll be well on your way to becoming a microgreens-growing guru. So, why wait? Start your microgreen garden today and enjoy the many benefits these miniature greens have to offer!
Got any questions or tips of your own? Feel free to share in the comments. Your journey to a greener kitchen starts now!


