This post may contain affiliate links. As an Amazon Associate, we may earn commissions from qualifying purchases.
Have you ever wondered what the best practices are for composting? Whether you’re a seasoned gardener or just starting out, understanding the best practices for composting is key to creating nutrient-rich soil that will help your plants thrive. In this article, we will explore the essential tips and techniques for successful composting. From selecting the right materials to maintaining the ideal composting conditions, we’ve got you covered. So, let’s roll up our sleeves and discover the secrets to achieving composting success!
Choosing the Right Composting Method
When it comes to composting, there are several methods to choose from. Each method has its own advantages and considerations, so it’s important to select the one that best fits your needs and circumstances. Here are three popular composting methods to consider:
Traditional Composting
Traditional composting, also known as backyard composting, is the most common method used by gardeners and homeowners. This method involves creating a compost pile or using a compost bin in your backyard. The compost pile is built up over time by adding a mixture of organic materials, such as kitchen scraps, yard waste, and garden debris.
One of the advantages of traditional composting is that it can handle a wide range of organic materials. You can compost fruit and vegetable scraps, coffee grounds, tea bags, leaves, grass clippings, and more. However, it’s important to avoid adding meat, dairy products, and oily foods, as they can attract pests and take longer to break down.
Vermicomposting
Vermicomposting, also known as worm composting, is an excellent option for individuals who have limited outdoor space or live in apartments. This method uses composting worms, such as red wigglers, to break down organic waste into nutrient-rich vermicompost.
To start vermicomposting, you will need a worm bin or vermicomposting system. This can be as simple as a plastic container with air holes, bedding material like shredded newspaper or coconut coir, and a handful of composting worms. You can then add your kitchen scraps, and the worms will do the rest.
Vermicomposting has the advantage of being faster than traditional composting and producing a nutrient-rich fertilizer known as worm castings. However, it requires regular maintenance and monitoring to ensure that the worms have a suitable environment.
Bokashi Composting
Bokashi composting is a unique method that utilizes a fermentation process to break down organic matter. This method is particularly useful for composting meat, dairy products, and other items that are not suitable for traditional composting or vermicomposting.
To begin bokashi composting, you will need a special bokashi bin, which is airtight and has a drainage system. You will also need to purchase or make bokashi bran, which is a mixture of wheat bran and beneficial microbes. Simply add your kitchen scraps to the bin and sprinkle a layer of bokashi bran on top. Repeat this process until the bin is full, then let it ferment for several weeks.
Bokashi composting has the advantage of being odorless and compact, making it suitable for indoor use. The fermented material can be buried in the garden or added to a traditional compost pile to complete the decomposition process.
Selecting the Right Location
Choosing the right location for your composting setup is crucial for its success. Here are a few considerations to keep in mind:
Consider Sunlight and Shade
Most composting methods work best with a balance of sunlight and shade. Too much direct sunlight can dry out the compost pile, while too much shade can slow down the decomposition process. Find a location that receives partial sun or shade throughout the day to maintain optimal conditions.
Ensure Proper Drainage
Compost piles need adequate drainage to prevent waterlogging, which can lead to unpleasant odors and slow down decomposition. Avoid placing your compost bin in low-lying areas or areas prone to flooding. It’s also helpful to elevate the bin slightly to allow excess moisture to drain away.
Accessibility
Choose a location that is easy to access, especially if you plan on adding kitchen scraps regularly. Consider placing your compost bin near your kitchen or garden for convenience. This will make it easier to collect and deposit compostable materials, as well as monitor and maintain the compost pile.
Preparing the Compost Bin
Once you have selected the right location, it’s time to prepare your compost bin. Proper preparation ensures that your composting system functions effectively. Here are a few steps to follow:
Choosing the Right Size
It’s important to choose a compost bin or container that is the right size for your needs. If you have a small household or limited space, a smaller bin may be sufficient. On the other hand, if you have a large garden or generate a significant amount of organic waste, a larger bin or multiple bins may be necessary.
Consider the volume of materials you plan to compost and choose a bin size that allows for adequate airflow and decomposition.
Adequate Ventilation
Proper ventilation is essential for composting because it allows oxygen to reach the microorganisms that break down the organic matter. Many compost bins come with built-in ventilation systems, while others may require you to create ventilation holes. Ensure that your compost bin has enough airflow to maintain aerobic decomposition.
Adding a Drainage Layer
To prevent excess moisture buildup, it’s helpful to add a drainage layer at the bottom of your compost bin. This can be a few inches of small twigs or gravel that allow water to drain away. The drainage layer helps to prevent waterlogging and promotes proper airflow within the compost pile.
Collecting Compostable Materials
Collecting the right materials is key to successful composting. Compostable materials can be grouped into two categories: green materials and brown materials.
Green Materials (Nitrogen)
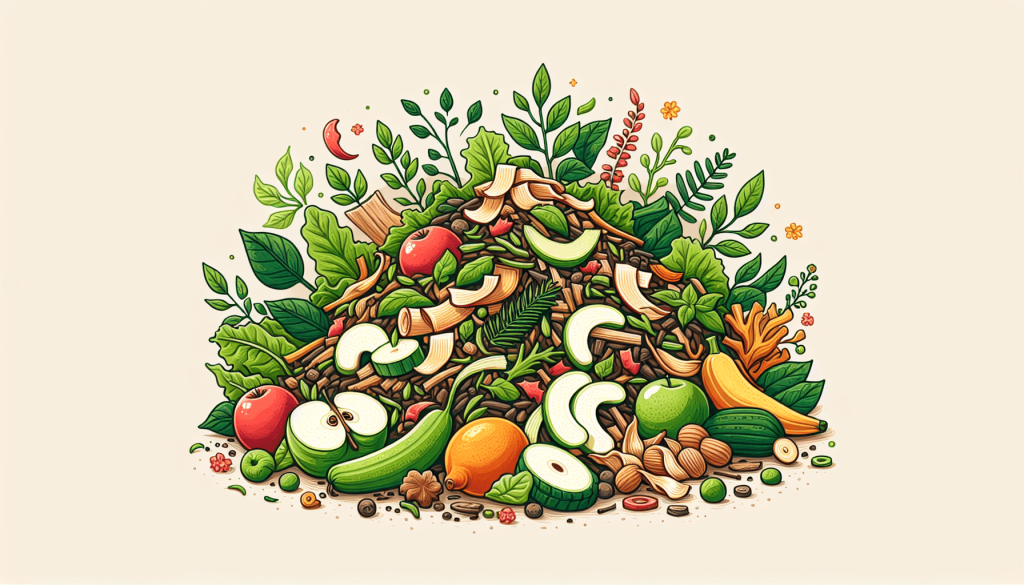
Green materials are rich in nitrogen and provide a source of protein for the microorganisms responsible for decomposition. Examples of green materials include kitchen scraps like fruit and vegetable peels, coffee grounds, tea bags, and fresh grass clippings. These materials are generally moist and have a higher nitrogen content.
When adding green materials to your compost pile, it’s important to balance them with brown materials to maintain the proper carbon-to-nitrogen ratio.
Brown Materials (Carbon)
Brown materials are rich in carbon and provide energy for the decomposer organisms. Examples of brown materials include dry leaves, straw, shredded paper or cardboard, and wood chips. These materials are generally dry and have a higher carbon content.
Adding a mixture of brown and green materials is crucial to maintaining a balanced compost pile. The ideal carbon-to-nitrogen ratio is generally considered to be around 25 to 30 parts carbon to 1 part nitrogen.
Avoiding Harmful Items
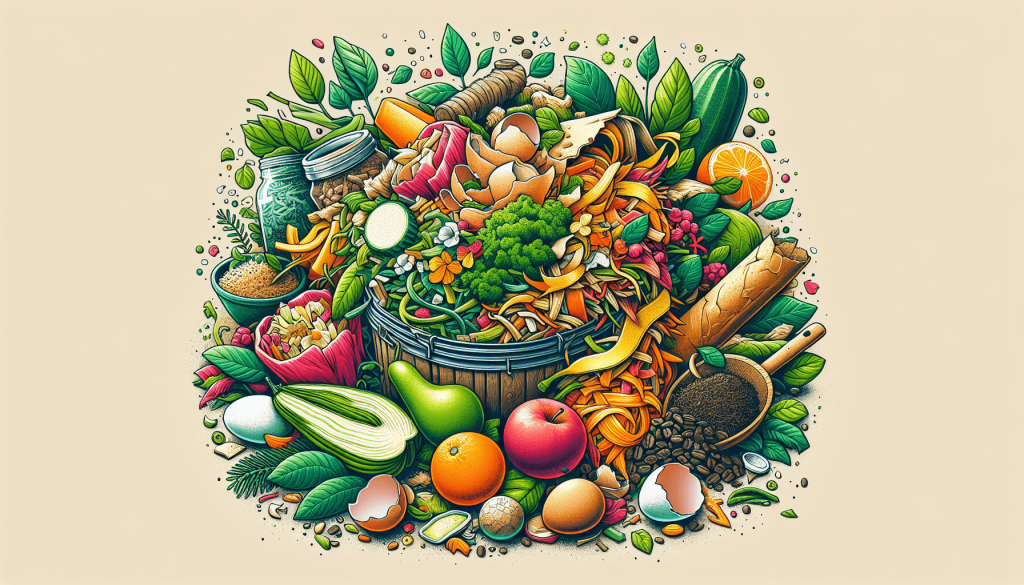
To ensure that your compost is safe and healthy, it’s important to avoid adding certain items that can be harmful or attract pests. Avoid adding meat, dairy products, oily foods, and pet waste, as they can create an unpleasant odor and increase the risk of attracting pests. Additionally, avoid adding plants that are diseased or infested with insects, as this can spread the problems to your compost and later to your garden or plants.
Adding and Layering Materials
Once you have collected your compostable materials, it’s time to start building your compost pile. Layering the materials correctly promotes decomposition and helps maintain a healthy balance. Here are a few tips:
Alternating Green and Brown Materials
When adding materials to your compost pile, alternate layers of green and brown materials. This helps to create a balanced carbon-to-nitrogen ratio and provides a diverse food source for the microorganisms. Start with a layer of brown materials, followed by a layer of green materials, and continue alternating until you have used all the organic waste.
Chopping or Shredding Large Items
For faster decomposition, it’s beneficial to chop or shred large items like branches or large leaves. This creates smaller pieces that are easier for the microorganisms to break down. You can use a shredder, pruners, or even run over the materials with a lawnmower to achieve the desired size.
Maintaining Proper Moisture Levels
Moisture is crucial for the decomposition process. The compost pile should be moist, similar to a damp sponge. If it’s too dry, decomposition will slow down, and if it’s too wet, it may become waterlogged and develop an unpleasant odor. Monitor the moisture levels regularly and adjust as needed by adding water or dry materials.
Turning and Aerating the Compost
To ensure that your compost breaks down efficiently, regular turning and aerating are necessary. This helps to introduce oxygen, redistribute microorganisms, and promote decomposition. Here’s what you need to know:
The Importance of Turning
Turning the compost pile is important because it brings the outer materials to the center and vice versa. The center of the compost pile tends to be warmer and more active, while the outer layers may be cooler and less active. Turning the pile mixes the materials and ensures that all parts of the compost are exposed to the optimal conditions for decomposition.
Using a Pitchfork or Compost Aerator
To turn your compost pile, you can use a pitchfork or a compost aerator. Insert the pitchfork or aerator into the pile and turn it, bringing the materials from the outer edges to the center. Repeat this process every few weeks or whenever the pile starts to cool down or become compacted.
Frequency of Turning
The frequency of turning depends on various factors, including the type of composting method, size of the pile, and weather conditions. As a general guideline, aim to turn the compost pile every one to two weeks. However, if you are using a tumbler or other composting system that provides frequent aeration, you may be able to turn the pile less frequently.
Maintaining Proper Moisture Levels
Moisture is a critical aspect of successful composting. If the compost pile becomes too dry or too wet, it can hinder the decomposition process. Here’s what you need to do:
Checking Moisture Levels Regularly
Regularly check the moisture levels of your compost pile by inserting your hand or a garden tool into the pile. It should feel moist, similar to a damp sponge. If it feels too dry, it’s time to add water. If it feels too wet and waterlogged, it’s important to let it dry out and add dry materials to absorb the excess moisture.
Watering or Adding Dry Material as Needed
If your compost pile is too dry, water it with a hose or watering can. Add water gradually, making sure to moisten the materials throughout the pile. If the pile is too wet, add dry materials like straw, shredded paper, or wood chips to help absorb the excess moisture. It’s important to strike a balance and maintain optimal moisture levels for efficient decomposition.
Monitoring and Adjusting Temperature
The temperature of your compost pile can provide valuable insights into its progress and help you make adjustments. Here are some guidelines:
Understanding Composting Temperatures
During the decomposition process, the microbial activity generates heat, raising the temperature of the compost pile. The pile typically goes through three temperature phases: mesophilic (moderate temperature), thermophilic (high temperature), and curing (cooling down).
The ideal temperature range for composting is between 120-160°F (49-71°C) during the thermophilic phase. This range allows the microorganisms to work efficiently, breaking down the organic matter. However, keep in mind that different composting methods may have different temperature requirements.
Covering the Compost Pile
To help maintain the desired temperature and moisture levels, it’s beneficial to cover your compost pile. A compost cover can be as simple as a tarp or a layer of straw. The cover helps to retain heat, prevent excessive evaporation, and protect the pile from heavy rain.
Adding Insulation in Cold Weather
In colder climates, composting during winter can be a challenge due to lower temperatures. Adding insulation materials like straw, dry leaves, or cardboard to the outer layers of the pile can help retain heat and keep the microbial activity going. Consider insulating your compost pile during the winter months to ensure continued decomposition.
Keeping a Balanced Carbon-to-Nitrogen Ratio
Maintaining a balanced carbon-to-nitrogen (C:N) ratio is crucial for successful composting. The C:N ratio affects the decomposition rate and the quality of the resulting compost. Here’s what you need to know:
Understanding the Carbon-to-Nitrogen Ratio
The carbon-to-nitrogen ratio refers to the proportion of carbon to nitrogen present in the compost pile. A balanced ratio creates an optimal environment for the microorganisms responsible for decomposition. The ideal ratio is generally considered to be around 25 to 30 parts carbon to 1 part nitrogen.
Balancing Green and Brown Materials
To maintain the proper C:N ratio, it’s important to balance the green (nitrogen-rich) and brown (carbon-rich) materials in your compost pile. If your pile has too much nitrogen, it may become slimy and smelly. If it has too much carbon, it may break down slowly. Aim to add a roughly equal amount of green and brown materials to maintain the balance.
Using Compost Correctly
Finished compost that has a balanced C:N ratio is a valuable fertilizer and soil amendment. Once your compost has fully decomposed and resembles dark, crumbly soil, it is ready to be used in your garden. Apply compost by spreading a layer on top of your soil or mixing it into the planting holes. This will enrich the soil, improve its structure, and provide essential nutrients for your plants.
Harvesting and Using Finished Compost
The final step in the composting process is harvesting and using the finished compost. Here’s what you need to do:
Identifying Signs of Finished Compost
Finished compost has a dark, earthy appearance and a pleasant, earthy smell. The original organic materials should be unrecognizable, and the compost should be crumbly and well decomposed. If you’re unsure whether your compost is ready, you can perform a simple germination test by planting some seeds in a small sample of compost to see if they sprout.
Screening or Sifting the Compost
Before using your finished compost, you may choose to screen or sift it to remove any large, undecomposed materials. This will result in a more uniform texture and ensure that only the finest compost is applied to your garden or plants. You can use a mesh screen, homemade sieve, or even an old window screen to sift the compost.
Applying Compost to Gardens and Plants
Once you have harvested and sifted your compost, it’s time to apply it to your gardens and plants. Spread a layer of compost on top of the soil or mix it into the planting holes before planting your seeds, seedlings, or transplants. The compost will provide essential nutrients, improve soil structure, retain moisture, and promote healthy, vigorous growth.
By following these best practices for composting, you can turn your organic waste into a valuable resource and contribute to a healthier, more sustainable environment. Remember to choose the composting method that suits your needs, select the right location, collect a balanced mix of materials, maintain proper moisture levels, and monitor the temperature. With patience and care, you’ll soon be rewarded with nutrient-rich compost that will benefit your garden and plants for years to come. Happy composting!


