This post may contain affiliate links. As an Amazon Associate, we may earn commissions from qualifying purchases.
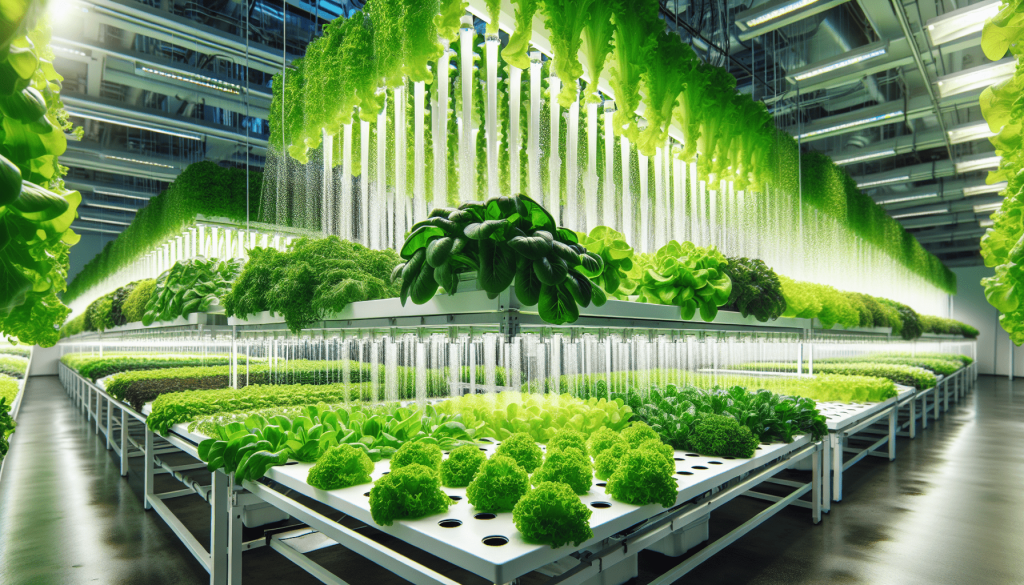
Growing hydroponic vegetables indoors can be a fun and rewarding hobby that brings fresh, crisp produce straight to your kitchen. You’ll discover the basics of hydroponic systems, the benefits of soil-free growing, and how to create the perfect environment for your plants to thrive. From choosing the right equipment to understanding nutrient solutions, this guide will walk you through each step to ensure your indoor garden flourishes. Whether you’re a seasoned gardener or a curious beginner, you’ll find the information you need to start growing delicious, homegrown vegetables all year round. Have you ever wondered how you can grow hydroponic vegetables indoors? It’s an exciting journey that can turn your indoor space into a lush garden of fresh, flavorful produce. Whether you’re an urban dweller with limited outdoor space or someone looking to have more control over your food’s quality, hydroponic gardening offers a fantastic solution. Let’s dive into the world of indoor hydroponics and learn how you can start growing your own vegetables.

What is Hydroponic Gardening?
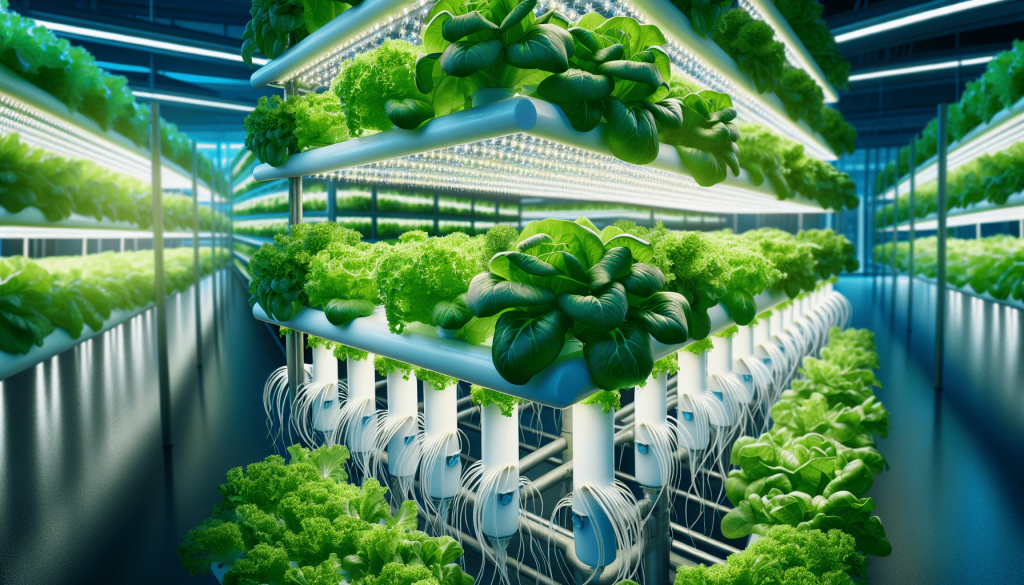
hydroponic gardening is a method of growing plants without soil, using mineral nutrient solutions in a water solvent. Essentially, it allows you to cultivate vegetables in water and nutrient-rich solutions.
Benefits of Hydroponic Gardening
Growing vegetables hydroponically has several benefits:
- Space Efficiency: Ideal for small living spaces.
- Water Conservation: Uses less water than traditional soil gardening.
- Faster Growth: Plants often grow quicker due to optimized nutrient delivery.
- Controlled Environment: Reduces the risk of pests and diseases.
- Year-Round Growth: No need to worry about seasonal changes affecting your plants.
Setting Up Your Hydroponic System
Setting up a hydroponic system can seem daunting at first, but it’s quite manageable with some basic steps. Here’s how you can get started:
Choosing the Right System
There are several types of hydroponic systems you can choose from:
| System Type | Description | Ideal For |
|---|---|---|
| Deep Water Culture (DWC) | Plants are suspended in a nutrient-rich water solution. | Beginners |
| Nutrient Film Technique (NFT) | A thin film of nutrient solution runs over the roots in a sloped channel. | Leafy greens |
| Ebb and Flow (Flood and Drain) | Periodically floods the grow tray with nutrient solution and then drains it away. | Versatile, most vegetables |
| Aeroponics | Roots are misted with nutrient solution. | Advanced gardeners |
| Wick System | Nutrients are drawn up to the roots through a wick. | Low-maintenance, small plants |
| Drip System | Nutrient solution is delivered to plants through drip lines. | Versatile, especially for larger plants |
Decide which system suits your space, experience level, and the types of vegetables you want to grow.
Necessary Equipment
To get started, you will need some essential equipment. Here’s a basic list:
- Reservoir: Holds the nutrient solution.
- Grow Tray: Where your plants will sit.
- Substrate: Medium to support plant roots (e.g., rock wool, clay pellets).
- Air Pump and Air Stone: To oxygenate the nutrient solution.
- Nutrient Solution: Specialized hydroponic nutrients.
- Grow Lights: Provide the necessary light spectrum for plant growth.
- pH Meter: Ensures the nutrient solution is at the correct pH level.
- Timers: Control the light and irrigation cycles.
Setting Up the System
Step 1: Assemble Your Equipment
Start by setting up your reservoir and grow tray. Ensure everything is secure and in place. Add your substrate to the net pots or grow tray.
Step 2: Add Nutrient Solution
Fill your reservoir with water and mix in the appropriate amounts of hydroponic nutrients. Use your pH meter to check the solution’s pH. Most vegetables prefer a pH between 5.5 and 6.5.
Step 3: Install Grow Lights
Place your grow lights above the plants, mimicking natural sunlight. Use a timer to ensure your plants receive 12-16 hours of light each day, depending on the type of vegetable.
Step 4: Plant Your Seeds or Seedlings
Now, you can plant your seeds in the substrate or transplant seedlings into your system. Ensure they are firmly supported and their roots can access the nutrient solution.
Step 5: Monitor and Maintain
Regularly check the water level and the pH of your nutrient solution. Replace or top-up the nutrient solution every 1-2 weeks, depending on plant needs and growth stages.
Choosing the Right Vegetables
Certain vegetables thrive better in hydroponic systems than others. Here are some excellent choices for beginners:
| Vegetable | Growth Tip |
|---|---|
| Lettuce | Fast grower, loves deep water culture (DWC) systems. |
| Spinach | Thrives in nutrient-rich environments, best in NFT or DWC systems. |
| Herbs (Basil, Mint, etc.) | Very adaptable, perfect for smaller systems like wick or DWC. |
| Tomatoes | Require more space and light, but are very productive. Ideal for drip or Ebb and Flow systems. |
| Peppers | Similar needs to tomatoes, prefer drip or Ebb and Flow systems. |
| Cucumbers | Fast-growing, need more vertical space. Ideal for drip or Ebb and Flow systems. |
| Strawberries | Produce excellent yields, enjoy NFT systems. |
Planting Tips
- Start with Seeds or Seedlings: Starting with seeds can be cost-effective, but seedlings can give you a head start.
- Spacing: Ensure adequate spacing between plants. Crowded plants compete for light and nutrients.
- Support Systems: Use trellises or supports for climbing plants like tomatoes and cucumbers.
Nutrient Management
Understanding nutrient management is essential for successful hydroponic gardening.
Types of Nutrients
Hydroponic nutrients come in two main types:
| Nutrient Type | Description |
|---|---|
| Macronutrients | Essential elements required in large quantities (N, P, K, Ca, Mg, S). |
| Micronutrients | Trace elements required in smaller amounts (Fe, Mn, Zn, Cu, B, Mo, Cl). |
Nutrient Solution Preparation
When preparing your nutrient solution:
- Measure Accurately: Follow the manufacturer’s instructions for mixing nutrients.
- Maintain pH: Regularly check and adjust the pH of your solution. Most plants prefer a pH of 5.5-6.5.
- Monitor EC (Electrical Conductivity): Ensures the right concentration of nutrients. Varies with plant type and growth stage.
Scheduling Nutrient Changes
Keep track of when you mix and change your nutrient solution. Here’s a suggested schedule:
| Growth Stage | Frequency of Nutrient Change |
|---|---|
| Seedling | Every 2 weeks |
| Vegetative | Every 1-2 weeks |
| Flowering/Fruiting | Weekly |
Regularly refreshing your nutrient solution prevents build-up of salts and ensures your plants receive fresh nutrients.

Managing Light, Temperature, and Humidity
Proper environmental controls are crucial for indoor hydroponic gardening.
Light
Grow lights are vital for photosynthesis. Here’s a handy guide for different light cycles:
| Vegetable Type | Light Hours Needed |
|---|---|
| Leafy Greens (Lettuce, Spinach) | 14-16 hours/day |
| Fruit-bearing (Tomatoes, Peppers) | 16-18 hours/day |
| Herbs | 14-16 hours/day |
Temperature
Maintaining the right temperature supports healthy growth:
| Growth Stage | Optimal Temperature (Day/Night) |
|---|---|
| Seedling | 70-75°F / 65-70°F (21-24°C / 18-21°C) |
| Vegetative | 70-80°F / 60-70°F (21-27°C / 15-21°C) |
| Flowering/Fruiting | 75-85°F / 55-65°F (24-29°C / 12-18°C) |
Humidity
Maintaining ideal humidity levels prevents diseases and supports transpiration:
| Growth Stage | Optimal Humidity |
|---|---|
| Seedling | 70-80% |
| Vegetative | 50-70% |
| Flowering/Fruiting | 40-50% |
Invest in a hygrometer to monitor indoor humidity and use fans to improve air circulation, keeping plants healthy.
Identifying and Solving Common Problems
Even with perfect conditions, hydroponic gardening can present challenges. Here’s how to handle common issues:
Nutrient Deficiencies
Nutrient deficiencies often manifest through specific symptoms:
| Symptom | Possible Deficiency | Solution |
|---|---|---|
| Yellowing Leaves | Nitrogen | Increase nitrogen in nutrient mix |
| Leaf Tip Burn | Calcium | Supplement with calcium |
| Poor Flowering/Fruiting | Phosphorous | Boost phosphorous levels |
Regularly inspect your plants and adjust nutrient solutions accordingly.
Pests and Diseases
Despite being indoors, pests and diseases can still affect your hydroponic garden:
| Problem | Identification | Solution |
|---|---|---|
| Aphids | Small green/black insects on leaves | Use insecticidal soap or neem oil |
| Root Rot | Brown, mushy roots, foul smell | Improve aeration, use beneficial microbes |
| Powdery Mildew | White powder on leaves | Increase air circulation, apply fungicide |
Regular maintenance and monitoring can prevent most issues before they become severe.
Pruning and Training Your Plants
Pruning and training your plants encourage better growth and higher yields.
Pruning
Removing unnecessary foliage allows plants to focus energy on fruit production:
- Remove Yellow Leaves: These don’t contribute to photosynthesis.
- Trim Excess Growth: Keeps plants compact and improves air circulation.
Training
Training techniques like topping (cutting the plant just above a leaf node) encourage bushier growth, while methods like trellising provide support for climbing plants.
Harvesting Your Hydroponic Vegetables
The moment you’ve been waiting for! Harvesting time depends on the vegetable type:
| Vegetable | Time to Harvest |
|---|---|
| Lettuce | 4-6 weeks |
| Spinach | 4-6 weeks |
| Tomatoes | 8-12 weeks (after flowering) |
| Peppers | 8-12 weeks (after flowering) |
| Herbs | 4-6 weeks |
Use clean scissors or a knife to harvest your vegetables to avoid damaging the plants.
Conclusion
Growing hydroponic vegetables indoors can be a rewarding and sustainable way to enjoy fresh produce year-round. With the right setup, attention to nutrient management, and diligent care, you can transform any indoor space into a thriving hydroponic garden. So why not give it a try? Happy gardening!


